Epoxy Garage Flooring: A Step-by-Step Guide to a Beautiful and Durable Floor
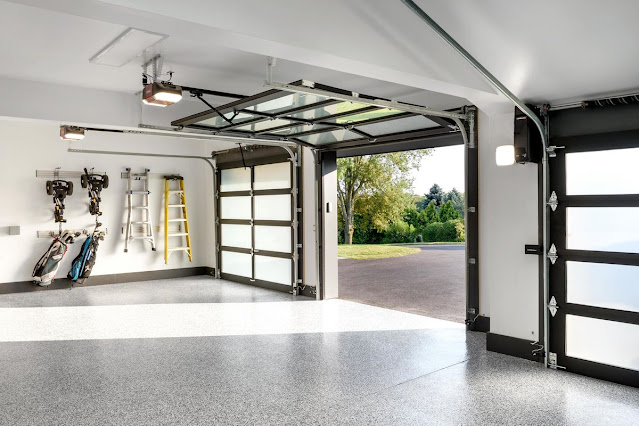
Epoxy flooring is a great option for garage floors because of its durability, low maintenance, and aesthetic appeal. Epoxy is a type of polymer that is created by mixing resin and hardener, resulting in a strong, durable, and waterproof coating. In this step-by-step guide, we'll walk you through the process of installing an epoxy garage floor, from preparation to finishing touches.
Step 1: Preparation
The first step in installing an epoxy garage floor is to prepare the surface. This involves removing any existing coatings or paint, cleaning the surface, and repairing any cracks or holes. It's important to have a clean, smooth surface for the epoxy to adhere properly.
Step 2: Etching
After the surface is clean and dry, it's time to etch the concrete. This process involves using an acid or chemical solution to create a rough texture on the surface, which allows the epoxy to bond properly. Etching is an important step because it removes any impurities from the surface, ensuring a strong bond between the epoxy and the concrete.
Step 3: Priming
Once the surface is etched, a primer is applied to create a strong bond between the epoxy and the concrete. The primer is typically a water-based epoxy that is applied using a roller or sprayer. The primer should be allowed to dry completely before proceeding to the next step.
Step 4: Applying the Epoxy
The next step is to apply the epoxy coating. This is typically done in two or three coats, depending on the thickness of the epoxy and the desired finish. It's important to allow each coat to dry completely before applying the next coat.
The epoxy is typically applied using a roller or sprayer. It's important to work quickly and efficiently, as the epoxy will begin to harden and become difficult to work with after a certain amount of time. It's also important to wear protective gear, such as gloves and a respirator, when working with epoxy.
Step 5: Finishing Touches
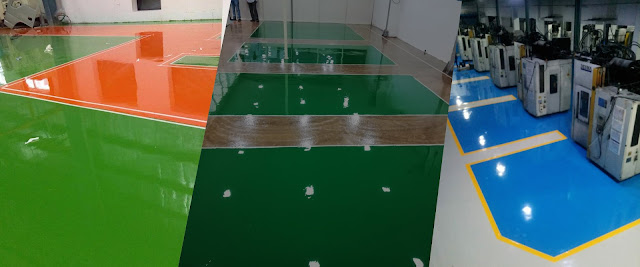
Once the final coat of epoxy is applied and has dried completely, it's time for the finishing touches. This typically involves applying a clear topcoat to protect the surface and create a glossy finish. The topcoat is typically applied using a roller or sprayer and should be allowed to dry completely before using the garage.
Maintenance Tips
Maintaining an epoxy garage floor is relatively easy, but there are a few things to keep in mind:
Regular Cleaning: Epoxy floors can be cleaned with a simple mop and mild detergent. Regular cleaning will help prevent stains and keep the surface looking shiny.
Avoid Harsh Chemicals: While epoxy floors are resistant to chemicals, it's still important to avoid harsh chemicals that can damage the surface over time. Avoid using bleach, ammonia, or other abrasive cleaners.
Use Mats or Rugs: To protect your epoxy floor from scratches or scuffs, use mats or rugs in high-traffic areas.
Repair Cracks or Chips: If you notice any cracks or chips in the surface, it's important to repair them as soon as possible to prevent further damage.
Conclusion
Installing an epoxy garage floor is a great way to transform your garage into a beautiful and durable space. With its durability, low maintenance, and aesthetic appeal, it's a popular choice for homeowners and businesses alike. By following this step-by-step guide and keeping up with regular maintenance, you can enjoy a beautiful and functional garage flooring for years to come.


Comments
Post a Comment